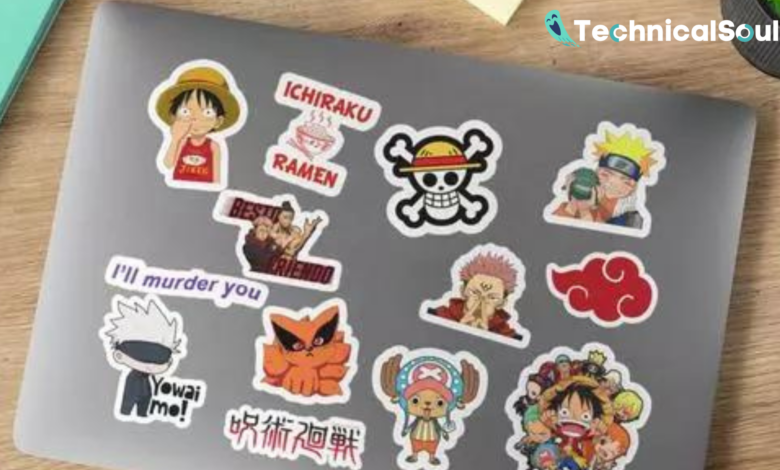
Putting stickers on your laptop is one of the most amusing things you can do to make your laptop look nice. I personally love to put anime-related stickers on my laptop and it’s too much fun to do. But the more you think this is easy, the harder it will get to put it on your laptop because there are some stickers that are not so good.
So in this article, we will tell how to put stickers on your laptop. We will tell and everything in detail so you just have to follow the steps carefully and we will give you some recommended tattoos that you should try on your laptop.
Step 1: Gather your Supplies

The very first thing you have to do before applying the stickers is that you have to gather all the supplies that are needed in this process.
- Stickers: Choose stickers that represent your interests by selecting high-quality vinyl or paper stickers that can easily adhere. For ease of application and durability, consider vinyl or paper options as these may last for many years and be applied more smoothly than their plastic counterparts.
- Cleaning Supplies: In order to keep the surface of your laptop looking its best, cleaning supplies such as a soft cloth, mild cleaning solution (water with some dish soap added in small amounts), and potentially even rubbing alcohol are essential.
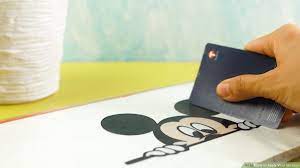
- Tweezers or Cards: With these tools at your disposal, applying stickers more precisely and smoothing out air bubbles should become much simpler.
- Scissors or Craft Knife: In case your stickers contain extra material that needs trimming away.
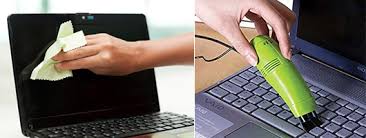
Step 2: Prepare Your Laptop
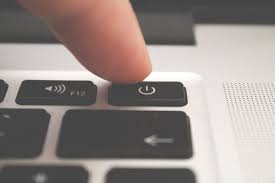
Power Off Your Laptop and Remove Cables and Accessories: Switching off your laptop is the first step toward protecting its components, from batteries to hard drives and accessories.
Gently Wipe Down Surface: Use a soft cloth and mild cleaning solution to wipe down the laptop surface in order to ensure there are no dust particles, dirt or oils present that would interfere sticker’s adhesion.
Step 3: Plan Your Layout
Before getting your sticker collection underway, take some time to plan its placement:
Experiment: Arrange stickers without attaching them yet so as to imagine their final arrangement on your laptop screen. This way you’ll gain an impression of their appearance once stuck down.
Balance: When applying stickers, be mindful to leave enough open areas for ventilation or aesthetic purposes. Covering every surface might compromise ventilation or aesthetic value if too many areas become covered completely with stickers.
Step 4: Apply the Stickers
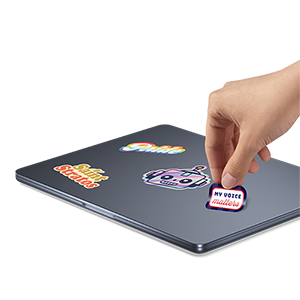
Now comes the fun part – applying stickers!
Remove the Backing: Carefully peel back one sticker’s backing paper until its adhesive side becomes visible.
Position the Sticker: Align your sticker with its desired location on your laptop, starting from one edge and pressing gently down, adhering it securely.
Smooth Out Air Bubbles: Use tweezers, card or your fingers to smooth away any air bubbles or wrinkles beneath the sticker from its center towards its edges. Start at its core.
Layer Stickers: Before layering multiple stickers together, be sure that each has been securely in place before adding another. This prevents overlapped or disorganized stickers from making an unsightly mess of things!
Step 5: Final Touches
Trim Excess Material if Needed: To finish off the design on your laptop, trim any excess material that extends beyond its edges using scissors or a craft knife to achieve an attractive and professional result.
Press Firmly: Once all stickers have been adhered, press each one firmly against your laptop surface to make sure that all adhesive bonds have taken hold.
Step 6: Protect Your Stickers (Optional)
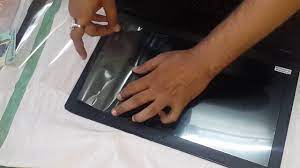
Although this step is optional but if you still want your stickers to run long then you can follow these two steps mentioned below:
Apply a Clear Laptop Skin: Protecting stickers from wear and tear is vital – try adding a clear laptop skin for added peace of mind.
Transparent Laptop Case: Protect both the stickers and laptop itself using a transparent laptop case with its protective layering system.
Step 7: Maintenance (continuous process)
As time progresses, stickers may accumulate dust or wear away over time. For optimal performance: perform maintenance regularly.
Examine: Conduct an initial inspection on your stickers for peeling edges or damage.
Replace or Clean: Replace stickers that have become damaged or peeling and clean any remaining adhesive with alcohol or adhesive removers to get rid of any residual debris.
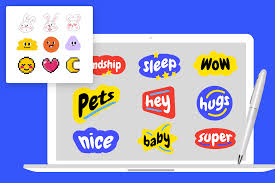
Stickers Recommendation:
Here are some popular categories of stickers that you might consider:
- Pop Culture References
- Nature and Animals
- Geometric Patterns
- Minimalist Designs
- Quotes and Typography
- Art and Illustrations
- Travel and Adventure
- Tech and Science
- Music and Instruments
- Gaming
- Food and Drinks
- Space and Astronomy
Conclusion
Personalizing your computer with stickers is a great way to show who you are. Follow these tips and steps to make your laptop truly yours. Whether you are interested in pop culture, art, nature or just adding some fun, stickers let you express yourself each time you open the machine. Feel free to add these unique features that represent who you are.